Ever since Google declared SSL as a ranking factor, the demand and supply of SSL certificates have shot up! The internet is a vast network with a number of interwoven bits, and web servers power different websites, making them accessible through browsers. Unfortunately, websites are prone to phishing attacks, so web admins and bloggers wonder if they could get SSL at cheap rates or free of cost.
If you’re also interested in this conversation, you’ve come to the right place. There are a few ways to get your SSL certificate, and we’ll show you some of the easiest ways to get certified today.
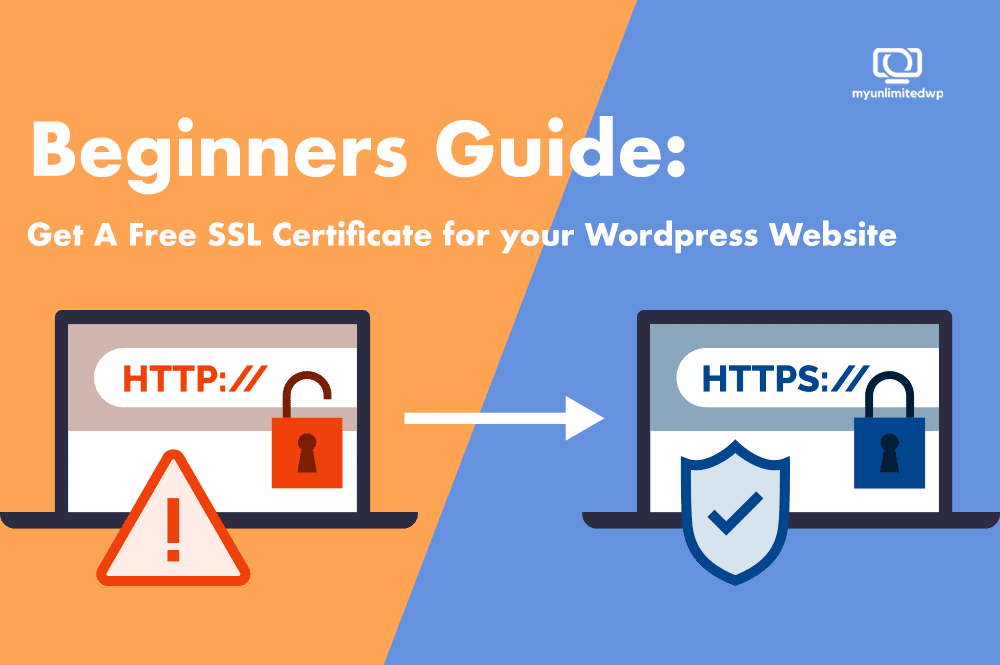
What is an SSL Certificate?
The abbreviation of SSL is Secure Socket Layers – an internet protocol that enables a secure data transfer between you and the website you’re visiting. Simply put, SSL certificates are those small data files that digitally bind all the cryptographic firm details.
When a website opts for an SSL certificate, a padlock on the left side of the URL activates. This changes the website to HTTPS allows secure connections from webs to browsers.
>> Related Reading: Migrating from HTTP to HTTPS for a More Secure Site
Commonly, SSL certificates ensure the safety of users’ data, such as credit card details, data transfers, log-in details, and social media sites. When you’ve an SSL certificate installed, it boosts your website’s credibility as the users trust you to keep their data in the right hands.
How to Get an SSL Certificate for Free:
Many website owners don’t like buying paid SSL certificates. This leaves a small number vulnerable to data and information theft. While high-end SSLs secure multiple domains and subdomains, offering a number of additional features, the basic SSLs suffice for most usage scenarios. Here’s how you can get and set your SSL certificate for free.
Sign Up for Cloudflare:
You obtain a free SSL certificate when you use CDN such as Cloudflare for a secure website. However, it’s possible to add a personal website to Cloudflare and get SSL protection.
Once you arrive at the Cloudflare home page, scroll down to the different plans.
You’ll notice that Cloudflare offers universal SSL certificates even with its free plan. Proceed to click Add a website under the free plan.
Add your email details and create a strong password. Select Create Account.
You’ll enter your website’s domain name and click Add site. Since you’ve already selected the free plan, hit continue and let Cloudflare do the work for a while. It’ll take a moment to scan your website.
Verify DNS Configuration:
In this step, you’ll verify your DNS configuration – so make sure your IP address is correct. If you’re unsure about the accuracy, head to WordPress cPanel and double-check the accuracy. If you don’t have a cPanel and are unsure where to find the IP address, contact your domain provider and ask them.
Change the Name-servers:
Once the page changes, scroll down the page and add Cloudflare’s name-servers.
You can either use HostDaddy or any other hosting company. Under My Domains, locate the domain you want to change the DNS for. Click Manage.
This process may vary depending on the domain provider under ‘Nameservers’ select Use custom name-servers.
In the DNS1 field, paste the first name-server – head back to Cloudflare, find the second name server, copy, and paste it into the DNS2 field.
Once you finish, click ‘Update DNS Servers.’
If you’ve followed the steps religiously, you’re good to go; however, if you aren’t sure about the process, consider contacting your hosting provider or the experts at MyUnlimitedWP and give them two name-servers. They’ll do this for you.
After updating the DNS field, head back to the home page of Cloudflare and click Done.
Click Finish later, as this can take up to 24 hours to propagate. You’ll see on your screen that it’s being re-checked, or you can submit only one recheck every hour. Keep refreshing the page every few hours to ensure that the name-servers are updated. You’ll receive a message once they’re updated.
Install Plugin:
For the final step, install a plugin. The process here is very simple. All you have to do is: Log in to your WordPress Dashboard and click Plugins on the left.
Select Add New and Real simple SSL in the search bar. Locate the plugin, install, and activate it.
Click Activate SSL, and bam!! You’ve successfully pushed and enabled your SSL certificate. Congrats! Your WordPress website is now secure!
>> Related Article:How to Install a WordPress Plugin – Step by Step for Beginners
Reliable Resources for Free SSL Certificates:
Let’s Encrypt:
Let’s Encrypt is standing out as a worthy option when it comes to getting free SSL certificates for your WordPress website through an automated procedure. Companies such as Google, Automattic, and Mozilla support Let’s Encrypt to secure websites from phishing attacks on the internet.
ISRG (Internet Security Research Group) maintains and backs it – and the ACME (Automatic Certificate Management Environment) allows you to install your own SSL certificate in just a few commands.
The certificates are valid for 90 days, which might seem a shorter period, but you’ve the option to auto-renew it, making it suitable for the life of your domain. Web hosts like GoDaddy, SiteGround, DreamHost, and many other services allow their customers to create SSL Certificates on the CPanel.
SiteGround:
SiteGround is one of the largest host providers in the market. Recently, the web hosting company announced the launch of a special promotion where the hosting packages include a free SSL certificate to protect the sensitive data transfer.
Since security has always been the top priority for the company, SiteGround offers free SSL certificates, so the webmasters will provide safer data transfer. The company has also included a dedicated IP address free of charge for one year in the promotional hosting package – which is a big plus when it comes to better connectivity and ranking factor – Search Engine Optimization for the website.
IN SUMMARY:
Load your website in the browser to double check the lock icon next to your domain name. The connection will be secure now. This relatively straightforward process is secure to help you understanding the basics of installing SSL certificates. If you find it too overwhelming, feel free to reach out to us for more WordPress guidance, website developmeng tips, and tutorials.